When living in the Japanese countryside, there are some vehicles you will see more than any others. Not only because they are practical and cheap to own and run but because they are the ultimate country bumpkin status symbol. The vehicle in question is, of course, the majestic kei truck.
We have a Daihatsu Hijet with a dump tray, which we love. It has been invaluable when doing jobs at the house, making scrapyard runs, picking up building materials from the hardware store, or even tossing the snowboards on the back and heading out for a ride.

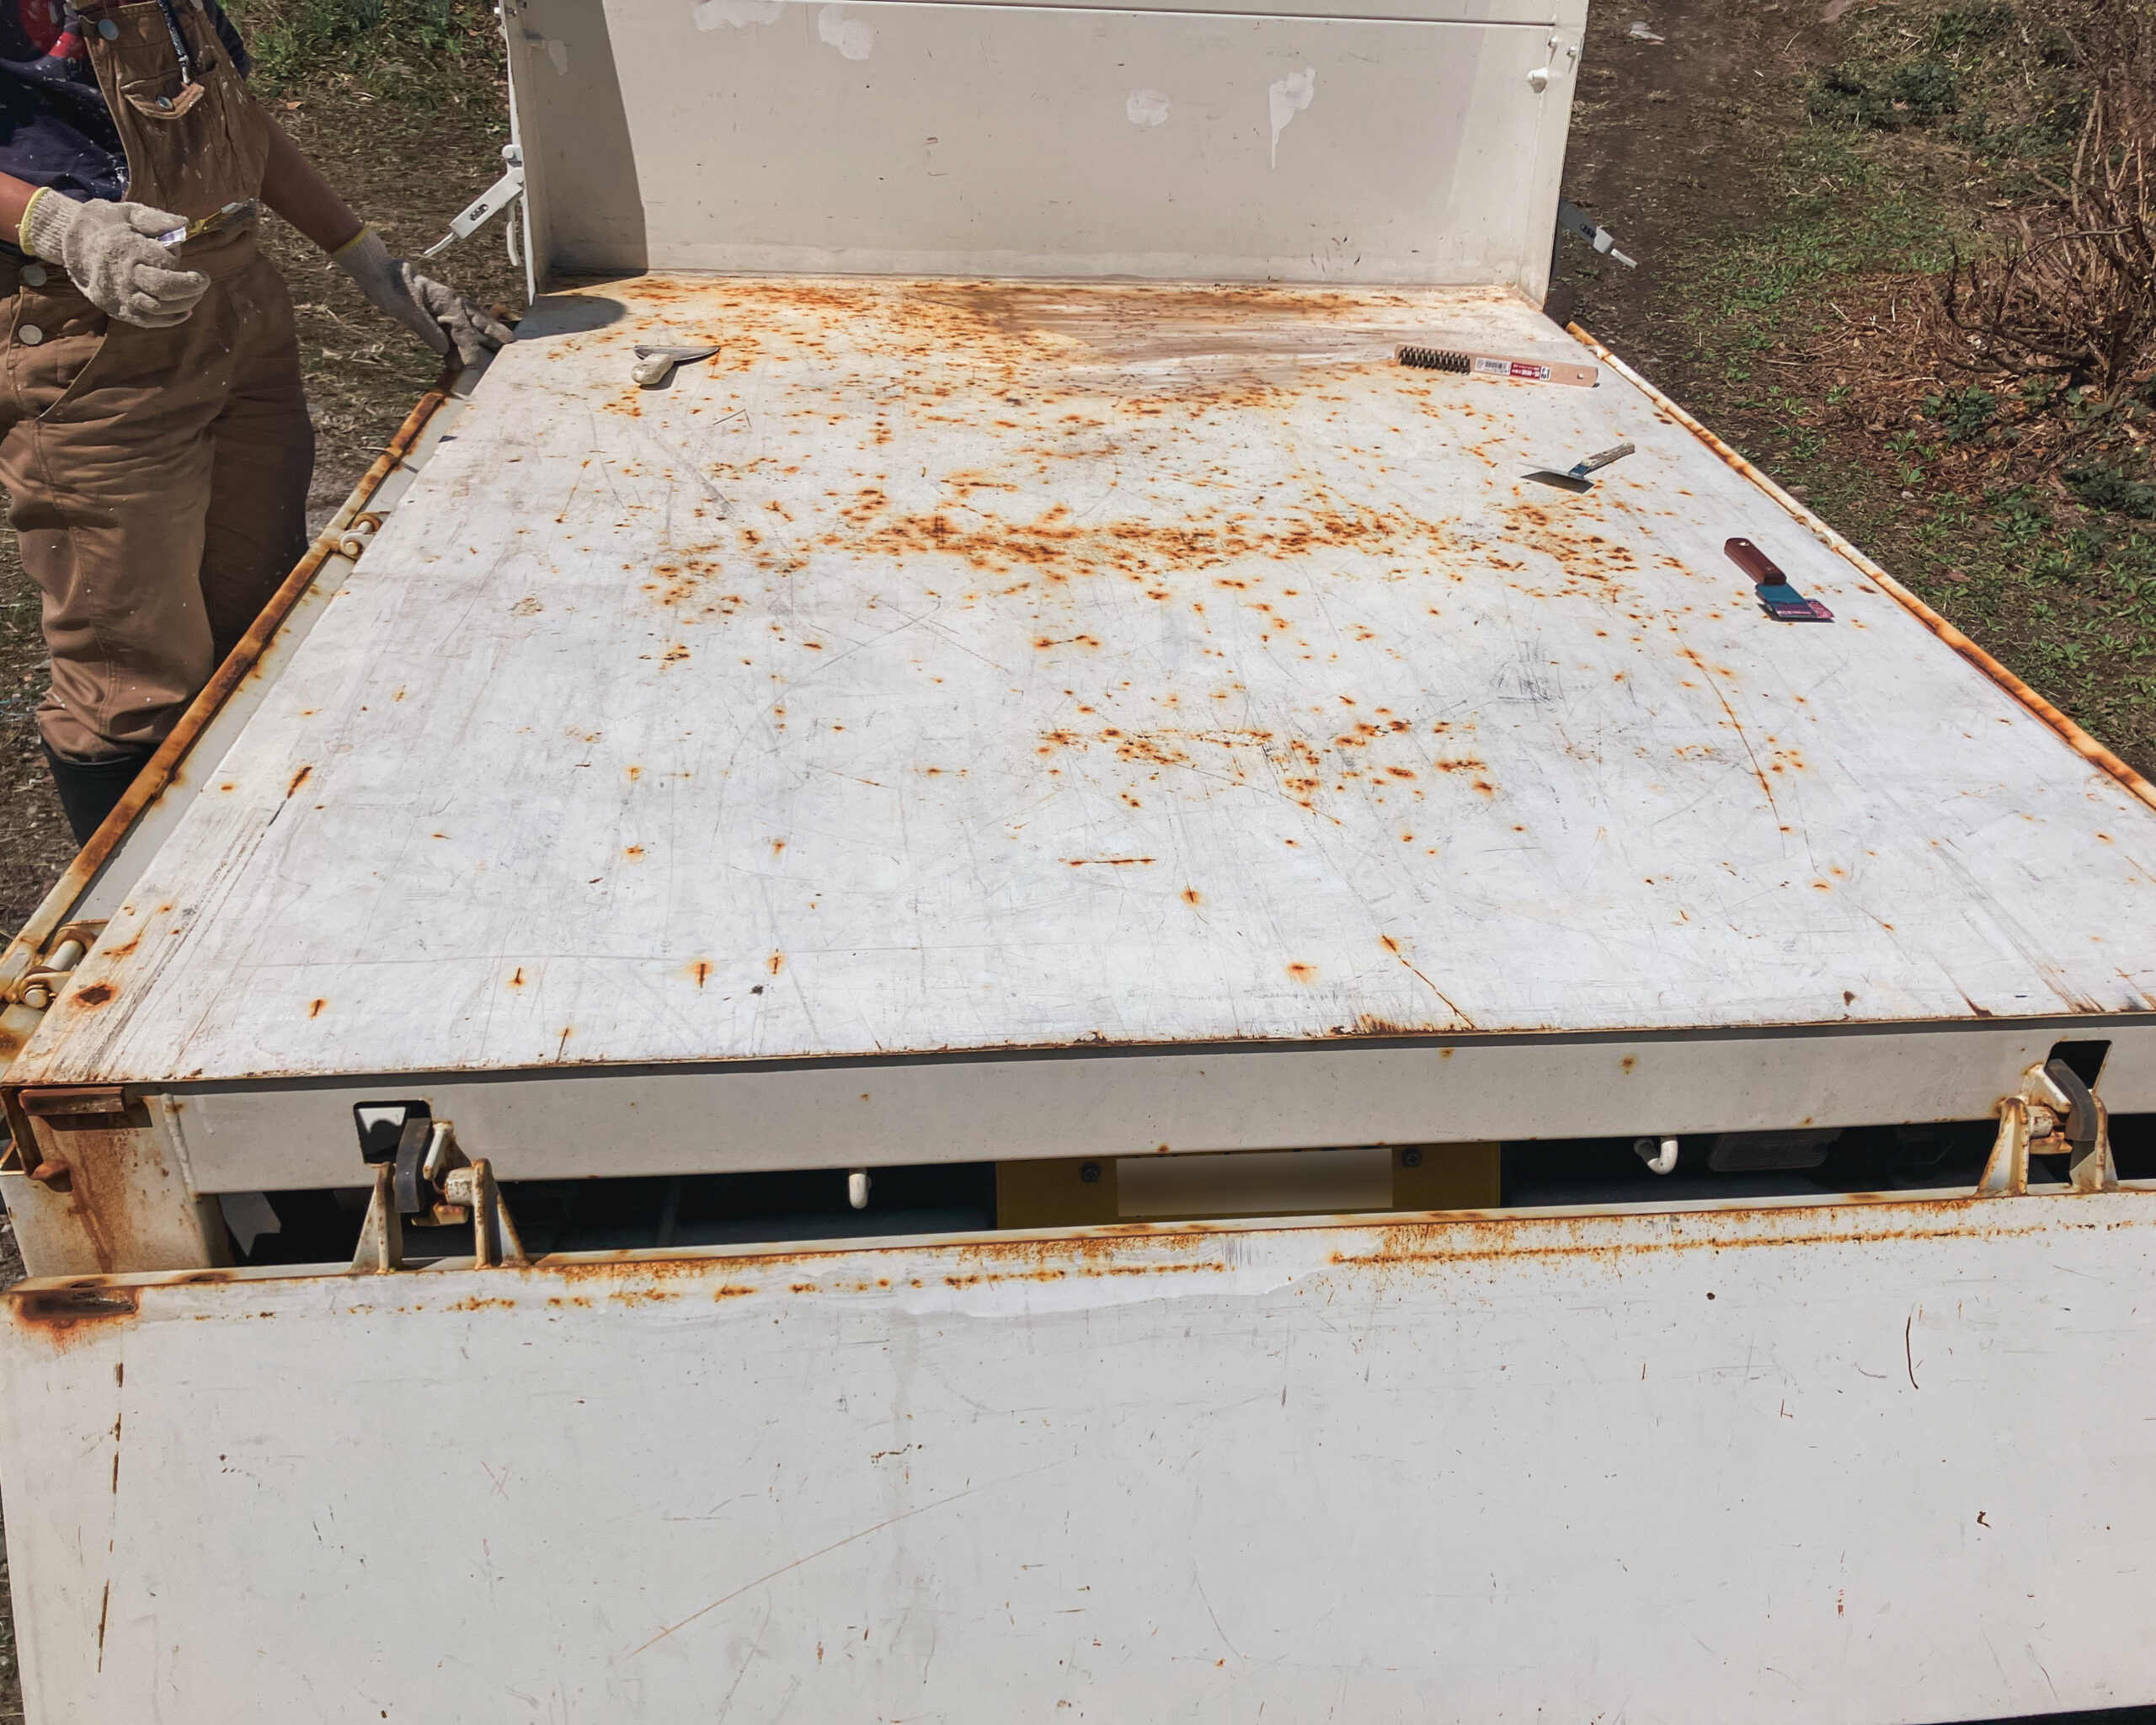
In recent years, we have had a plastic sheet to cover the back of the tray, protecting it from scratches and dirt. The issue with this is that moisture builds up under the sheet and causes the tray to rust. The rust was also spreading around the wheel arches and some other places and beginning to worry us.
Therefore, we decided to deal with the issue and try to give our tiring kei truck a new lease on life. Below, I will explain the steps we took to address the rust and how it has turned out.
Step 1: Remove the rust
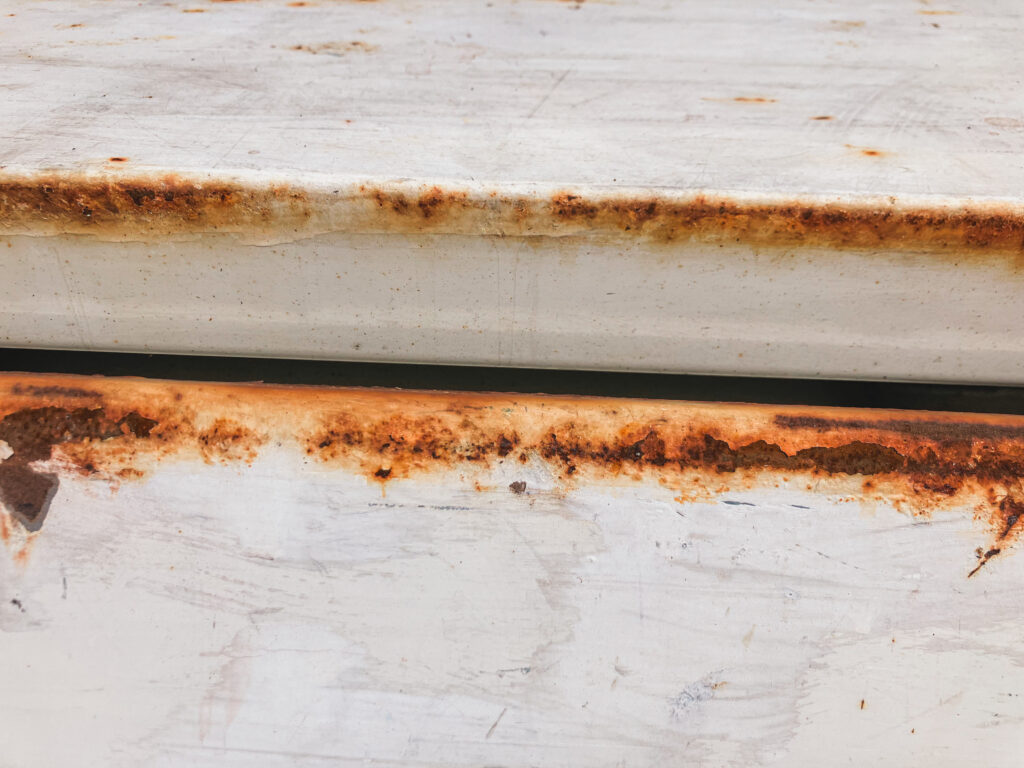
Firstly, we needed to remove as much of the rust as possible. To do this, we bought some wire brushes and went to work scrubbing off the areas with visible rust. In areas where the rust covered large parts, we used a scraper to remove the bulk of the flakes. It was important to try to remove all layers of rust, not just the top layer on the paintwork. This step took a long time and was quite demanding, given the amount of rust on the vehicle.
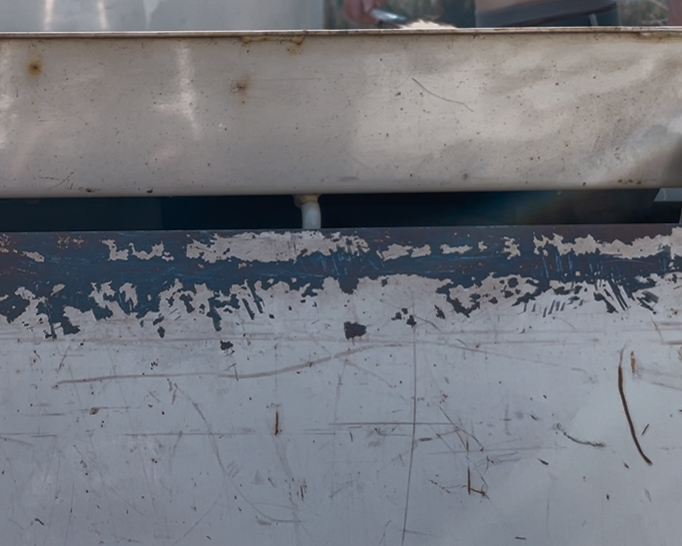
Once we had scrubbed off all of the rust, we brushed down the truck to remove any dust caused by the scraping.
Step 2: Apply a rust inhibitor
For this step, we bought this rust inhibitor online.
Pouring a small amount at a time into a small tray, we used a toothbrush to apply the liquid generously to any areas that had been scraped and scrubbed. It quickly turns any area it touches into a purple stain. This stain will later become darker, approaching black.
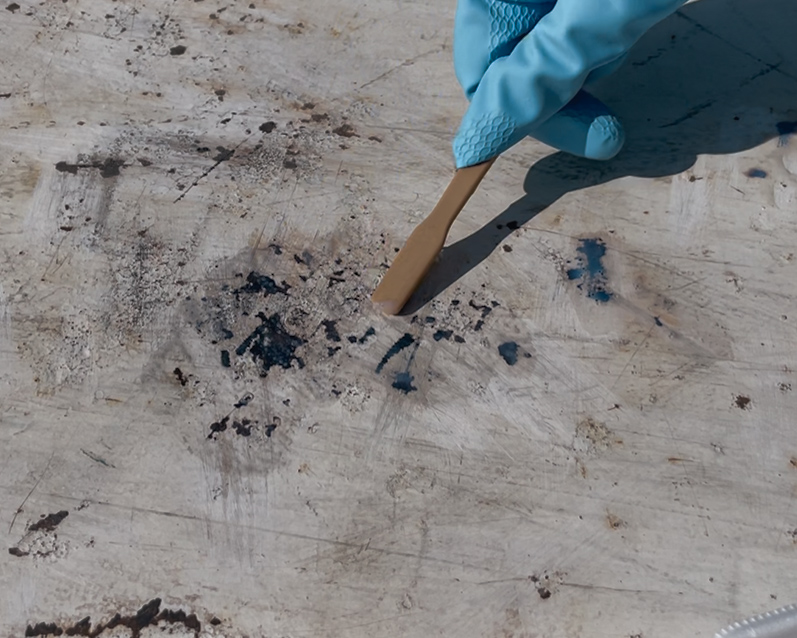
When every area had been thoroughly brushed with the liquid, we left it overnight to dry completely.
Step 3: Paint
It isn’t completely necessary to repaint the areas where the rust inhibitor has been applied, but since the bulk of the rust was on the tray, we wanted to cover up all the dark stains with a fresh coat of white paint. We chose to use this paint, as it is suitable for metal.
Be mindful to ensure that the rust inhibitor has dried entirely and turned black before applying any paint.
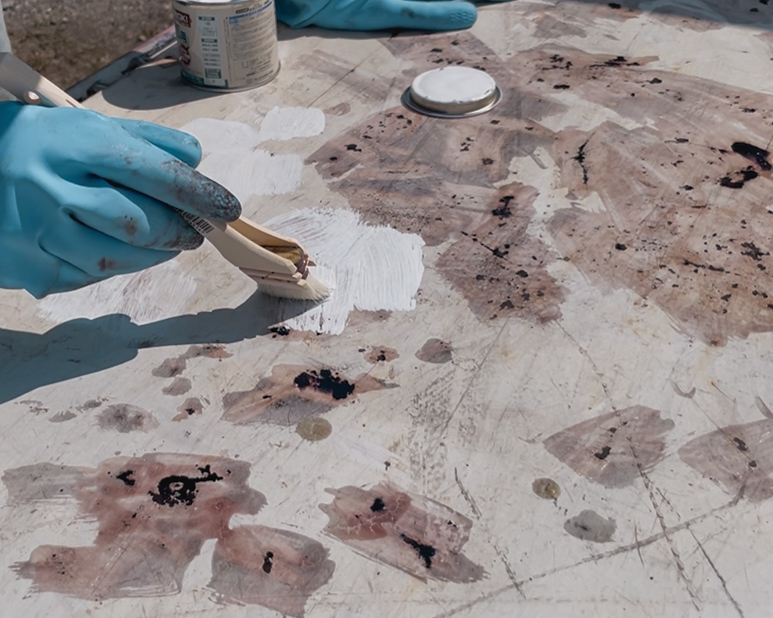
It took two coats to cover all of the areas we had scrubbed and applied the rust inhibitor on. We could have used a little more paint, but we are aware that this may be a job that needs to be repeated in the future after some more weathering has happened.
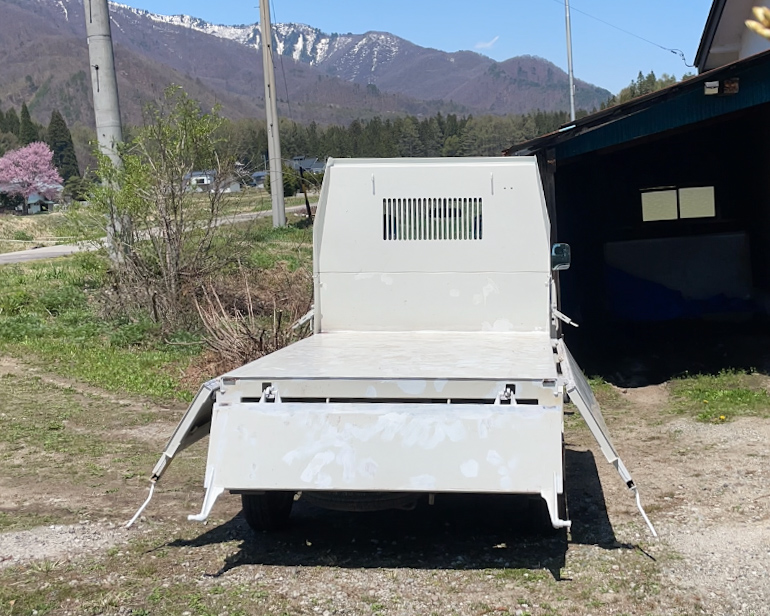
Once the paint dried, we were able to admire the kei truck’s fresh new look. Although there are areas where the white paint stands out in contrast to the original paintwork, we believe it looks significantly better than the rust before or the dark stains caused by the rust inhibitor. We have decided to stop using a cover on the back of the tray to prevent moisture from building up and causing further rust. Hopefully, with proper care and maintenance, the kei truck will continue glowing white and bright for years to come.