
When we first came face to face with the kitchen in our newly purchased Akiya, we were met with ceiling tiles stained in grease, a dirty and dated stainless steel countertop, and old flooring scratched and past its best. We decided that the first step towards a comfortable life in the house, would be to renovate the kitchen space.
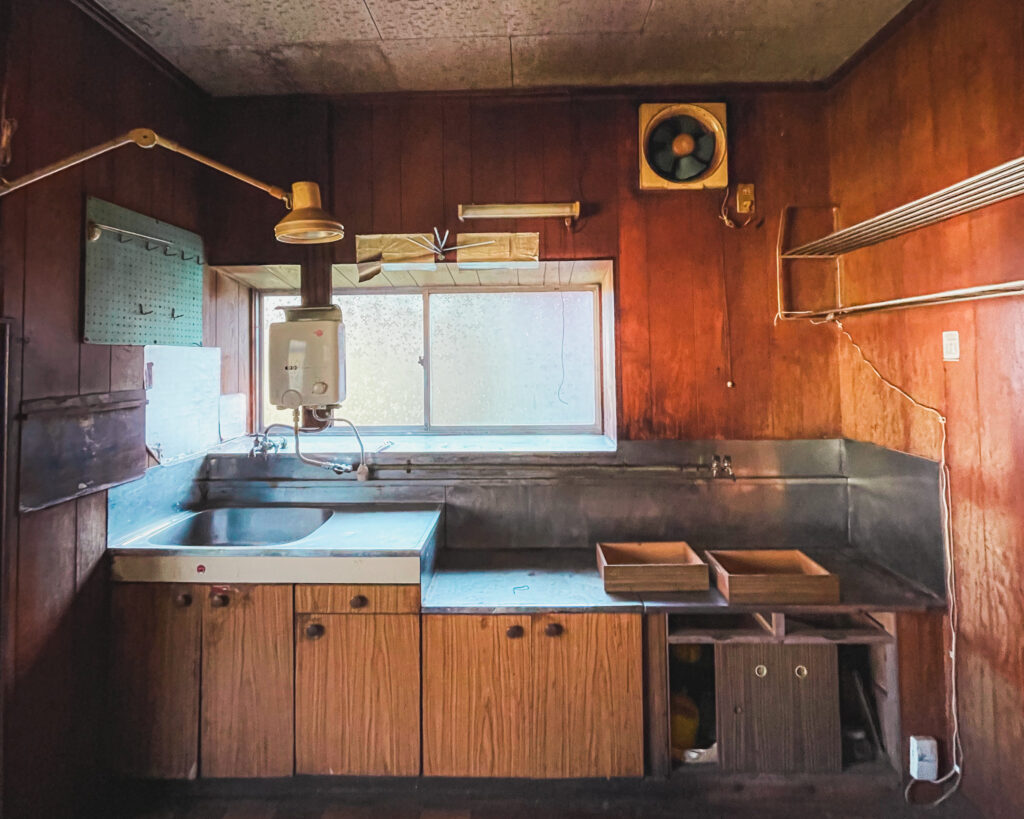
This is how the kitchen looked when we purchased the property.
Floor
We began by deciding on the level we wanted our floors to be. As the kitchen and dining area had two different floor levels, our first job was to bring the kitchen floor up by 40mm. We then went to work on marking on the walls where the new level would be and marking where the floor joists would lie. For this, we purchased 30mmx40mm joist cuts. In Japan, the standard gap between floor joists is 300mm, which aligns with traditional construction practices based on the shaku (a traditional Japanese unit of length). We therefore marked where the joists would go, ensuring that they were spaced in equal 300mm gaps.
👉 Want to learn more about the shaku and other Japanese measurements? Please read this:
To attach the joists to the floor, we used glue and screws. We started at one side and worked our way across the room. Between the joists, we used insulation foam boards cut to the correct size and stuffed in the gaps. If there were any small holes around, we filled them with small cuts of insulation. Our kitchen has an old concrete storage room underneath, that was presumably used to keep dry foods, like rice in the past. We decided that we would like to use the space in the future, and needed to have access. It was therefore important to consider where joists could edge the side of the entrance when laying them.

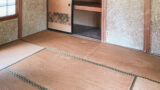
Once the joists and insulation were all fitted, we put down 9mm ply board over the joists. We screwed these to the joists and our false floor took shape. We cut a ply board the size of the storage room access and attached a hinge and handle.
Ceiling
With a sturdy floor to work off, we went to work on the ceiling. As we were still learning our way around basic DIY at the time, we were quite confused on the best way to address the greasy ceiling panels. We decided that we would try plastering over them with a lime plaster. We bought a bucket of the pre-mixed plaster and the tools needed to apply it, and coated the ceiling panels with a layer about a few millimetres thick. This took some time and was hard going with our arms above our heads for the full day.
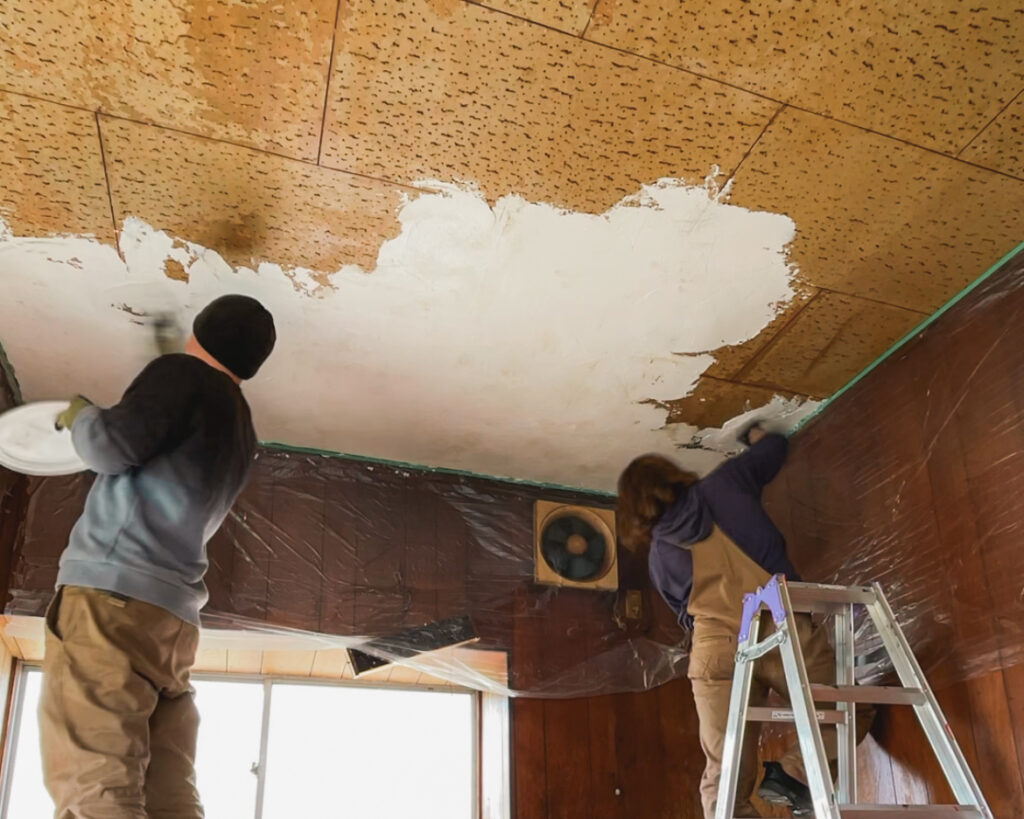
Unfortunately, we quickly learned where we had gone wrong. As we had not primed the ceiling before plastering, the plaster was sucking all the surrounding moisture into it. This meant that it turned a greasy colour as it absorbed the oil and stains it was intended to cover. This pushed us back to the drawing board and we decided the only way to rectify the situation properly was to start over by plasterboarding over the top of all of it.
Perhaps now, knowing what we do, we would opt to remove the old ceiling tiles and the plaster we applied, and start over with a fresh area. We would fit new ceiling joists and secure our plasterboard to them to give a more exact and sturdy finish.
However, we covered everything up with plasterboard, applied putty to the gaps and screw holes, and sanded. These steps were done three times until all the gaps and screw holes were flat and showed no texture.

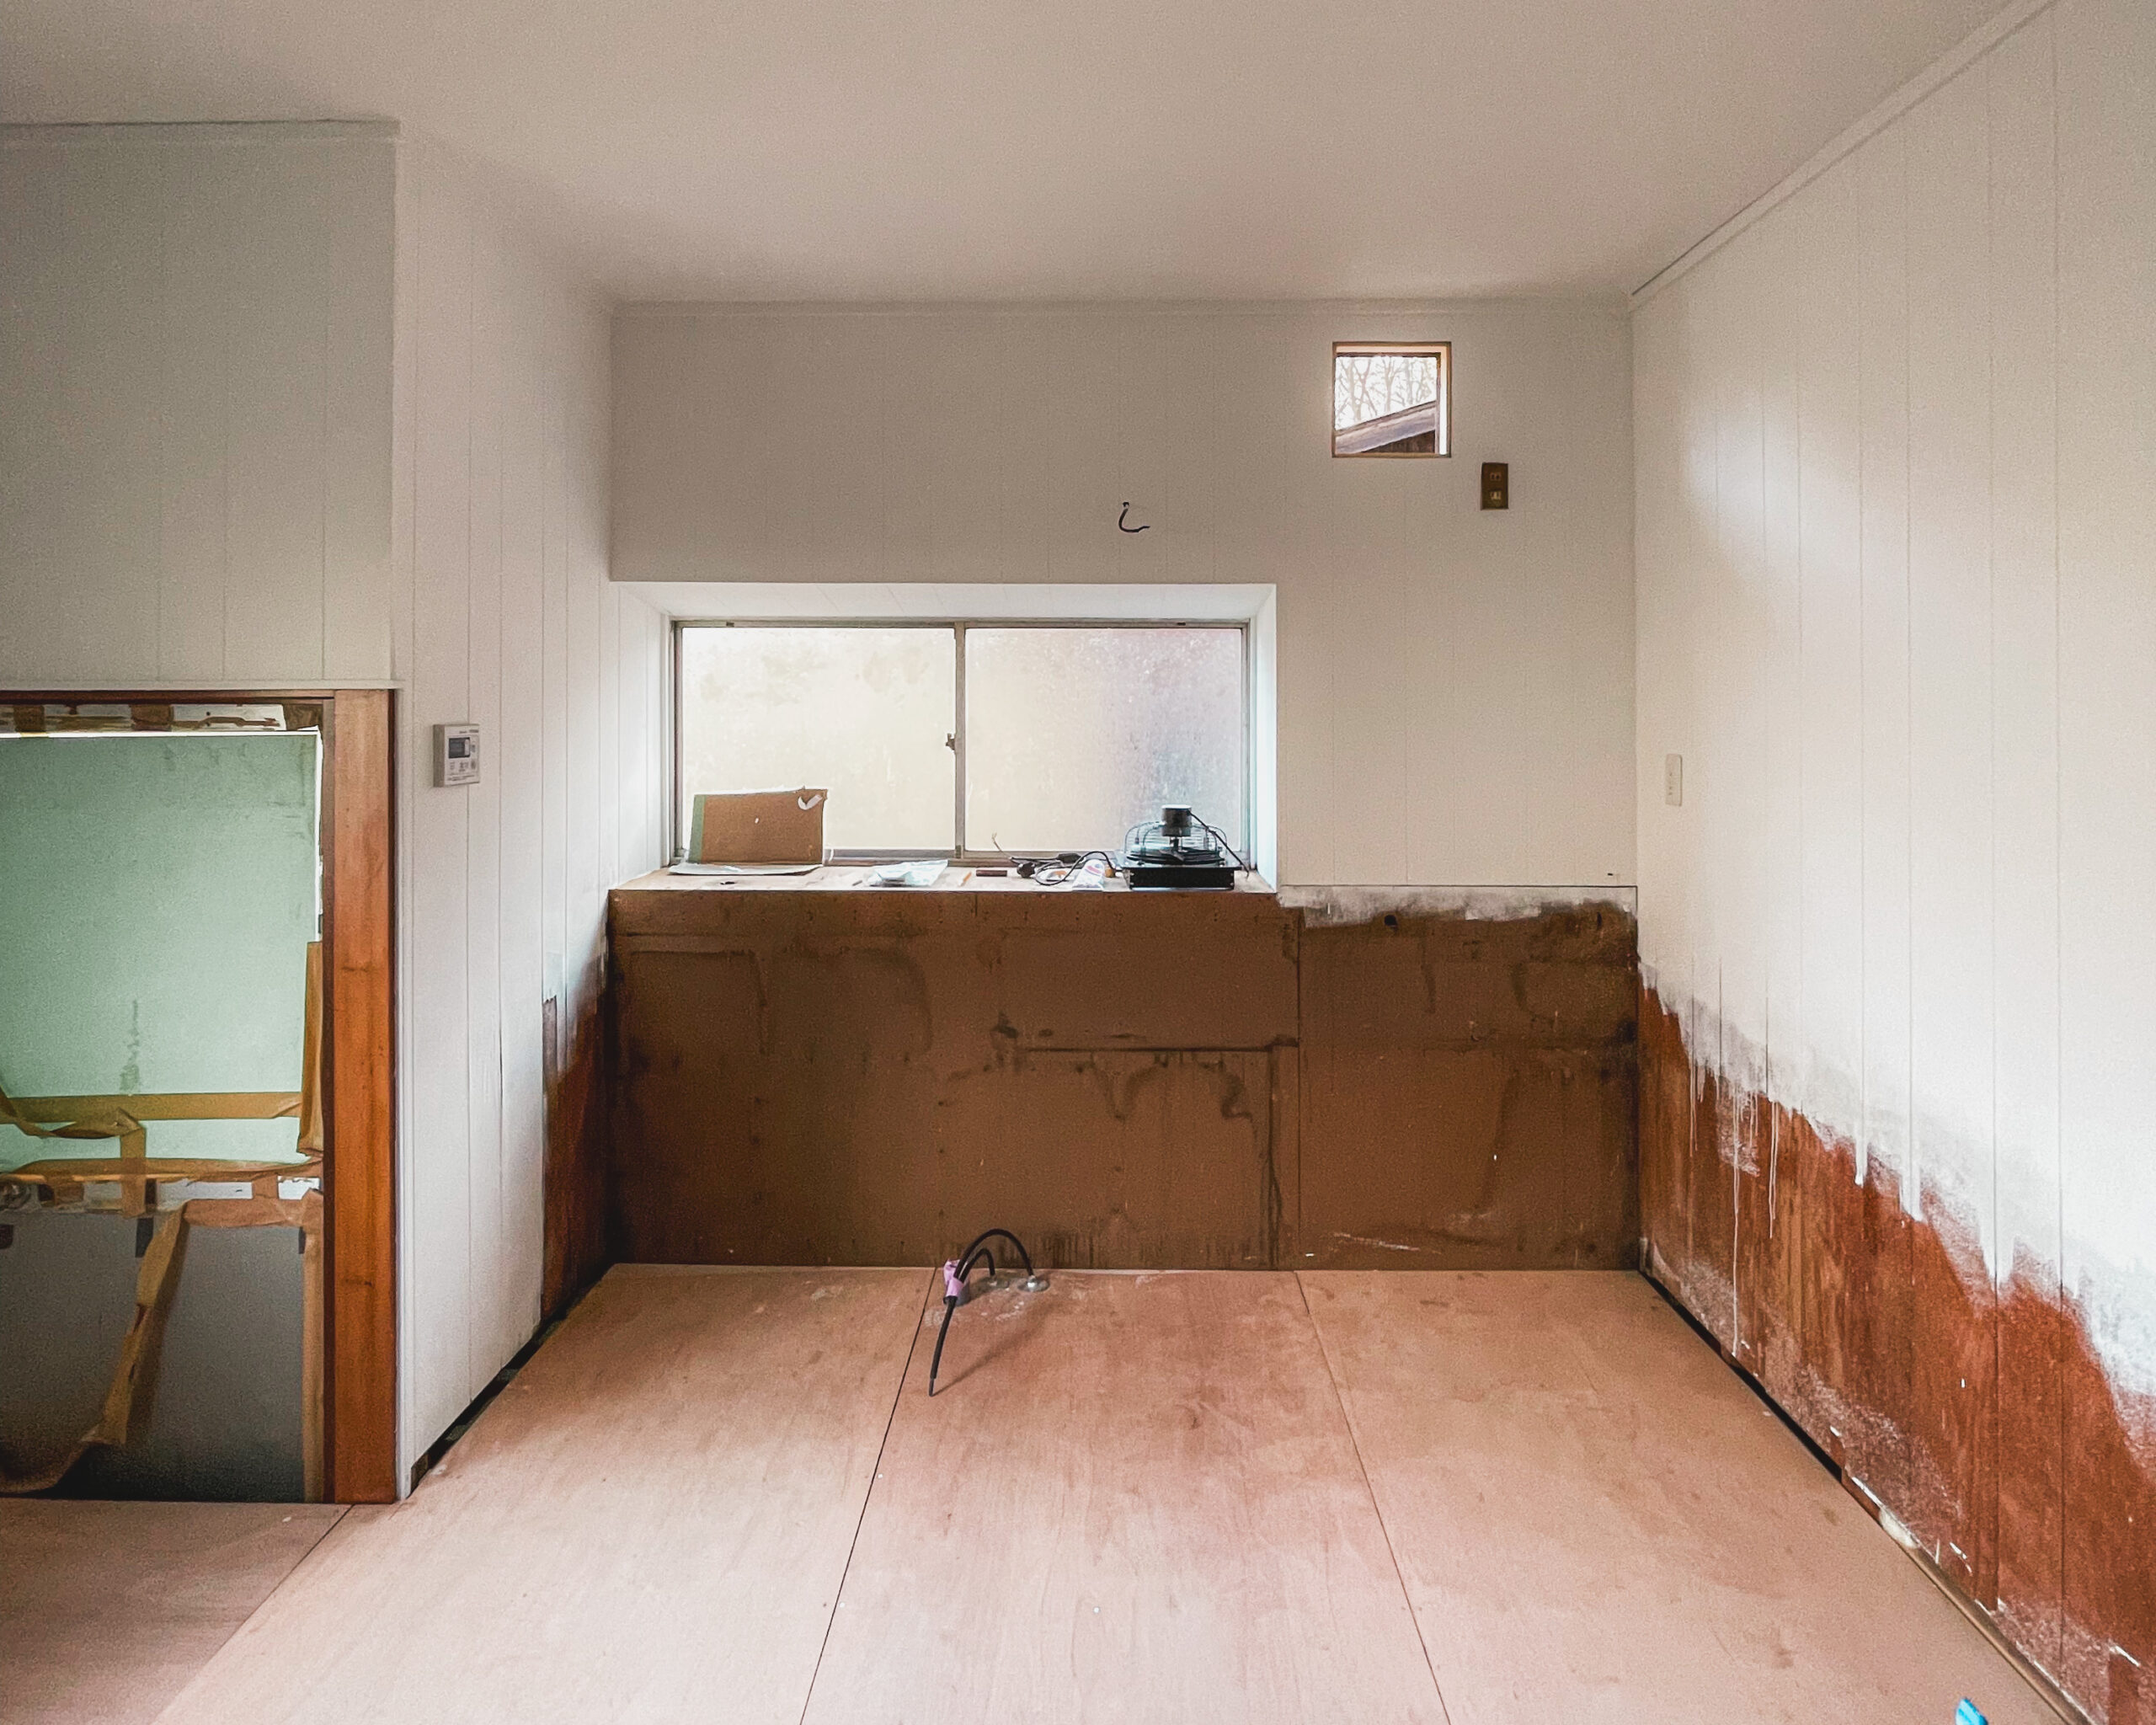
Walls
Despite some of the wall panels splintering and worn at the bottom, they were going to be concealed by the cabinets, and so we decided to paint directly onto them.
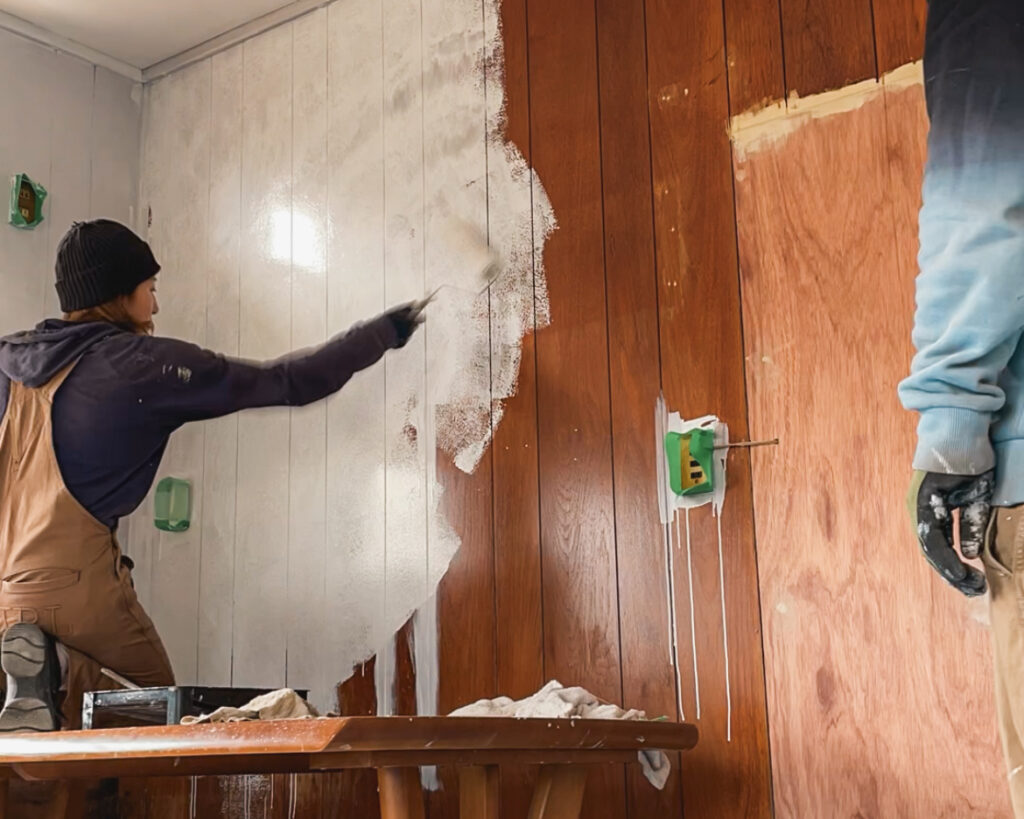
Having learned our lesson from the ceiling fiasco, we thought applying a couple of coats of primer to the old wall panels, would provide a seal between the new paint and the layer of grease and dirt on the boards. If you are planning to paint wood in a white or light colour, this is a good primer.
If you’re looking for a cheap and decent white paint, this is great value for money.
On this occasion, we were lucky and the paint remained white and masked the eye sore of the previous walls. Not replacing all of the walls and insulating turned out to be another mistake, which is explained here.

At this point we were happy with the space, so turned our attention to building our kitchen cabinets. If you are interested to find out more about how we built and installed our own kitchen cabinets, click here to read the full blogpost.
The journey to having a nice new kitchen is still not completed, but with each small step, we get a little closer. Our next job will be to repaint and add splashback tiles to the walls. We will add our progress here as we tick off more jobs.

